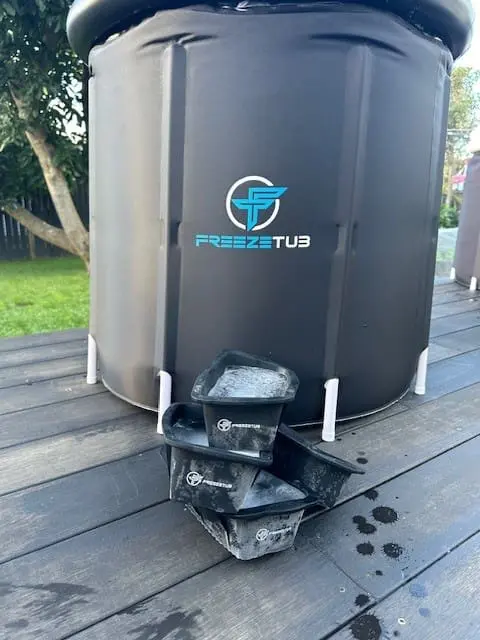
Cleaning your ice bath is generally, a very simple approach. Freeze Tub has a few different types of ice baths so follow the steps below to ensure your ice bath stays in the best condition.
The Freeze Tub Summit features an internal bladder that can be easily removed and wiped down once it is emptied of water.
The Freeze Tub Solo is a portable ice bath that is an all-in-one unit and is just as easy to clean as the others.
Easy Steps To Cleaning Your Freeze Tub Ice Bath.
Freeze Tub Solo
- Turn on the drain valve tap at the bottom of the ice bath and empty the water using the extension hose if required.
Pro Tip: if your water is chemical-free, try re-purposing it in the garden.
- When the water has stopped draining, 2-3cm of residual water should be left under the drain valve. Using the leftover water, use a mild detergent (not harsh, scratchy, Jif-like detergents) to scrub your ice bath using a cloth or soft brush. Make sure you get into the creases of the ice bath where mould and bacteria can build up over time and don’t forget the walls as well.
- Carefully tip the ice bath on its side and empty the dirty water. Rinse well using a hose.
- Tip your ice bath back into its position and refill the bottom with 2-3cm of water. Repeat with a little more dish soap, and clean one more time. Tip the ice bath back over and continue rinsing until all the detergent has gone.
- Lift the ice bath back into its upright position ensuring no stones or debris are under it, check the legs are straight and continue to towel dry.
- Leave the ice bath air dry for an hour, and give it one more wipe down with a micro-fibre cloth to remove any excess dirt that you have missed.
- Switch the drain valve back into its locked position and re-fill your ice bath. You’re ready to go again.
Freeze Tub Summit
- Turn on the drain valve tap at the bottom of the ice bath and empty the water.
Pro Tip: if your water is chemical-free, try re-purposing it in the garden.
- When the water has stopped draining; you can scoop the remainder out using a cup.
- Unscrew the drain valve being careful not to lose the O-Ring seal.
- Get your fingers between the velcro and remove the inner bladder.
- Using mild detergent (not harsh, scratchy, Jif-like detergents) scrub your ice bath using a cloth or soft brush. Make sure you get into the creases of the ice bath where mould and bacteria can build up over time and don’t forget the walls as well.
- Rinse the inner bladder well using a hose.
- Wipe down the foil insulation with a soft damp cloth and dry well.
- Place the inner bladder back into the ice bath ensuring you iron out as many creases as possible and line up the positioning points so the drain valve exits the ice bath without any bladder stretching.
- Towel dry the ice bath, then let it air dry for an hour. Give it one more wipe down with a micro-fibre damp cloth to remove any excess dirt you may have missed.
- Switch the drain valve back into its locked position and re-fill your ice bath. You’re ready to go again.
To ensure the longevity of the water. Use an all-weather cover to help keep the external leaves and bugs out and have good hygiene.
Having improper hygiene is the main reason your water becomes unusable after a short period. It’s good practice to shower before you cold plunge to remove excess dirt, sweat, moisturisers, deodorants and makeup. By showering beforehand, you can extend the life of the water considerably.
What we can’t change is the excess oils our skin produces, and everyone is different. While some people don’t change their ice bath water for a month, others change it each week. This is mostly due to the skin oils that accumulate in the water.
Some ice bath enthusiasts get a bromine dispenser from The Warehouse and use a very small amount of bromine to help keep the water clean for longer. It’s a safer alternative and better for the ice bath than chlorine, which is not recommended.
Before You Get Into Your Ice Bath
Ensure you wipe your feet on a towel to remove any small stones that could stick to your feet and penetrate the base of the tub.
The inner bladder of the ice baths is designed to withstand significant water pressure. However, even the tiniest stones on the bottom of a foot, combined with the weight of the person, can puncture a hole in the base of the bath.
By following these tips on how to clean your ice bath ensures your freeze tub stays in the best condition and continues to partner you in your cold water therapy journey.
If you have any new ideas that you’ve seen, comment below and let us know.

